I have to admit, I’m a bit obsessed with mid-century interior design, especially furniture. I love the clean, elegant lines and the timeless modern look you can so easily achieve with this style.
In my guide to Eames chair replicas, I briefly mentioned the Eames elephant and the iconic mid-century Eames house bird, which was not in fact, created by, but was certainly made famous by, Charles and Ray Eames.
The original bird was actually first made in 1910 but the Eames’s where completely inspired by it when they found one on their travels, and it subsequently became a much-loved art piece for their home.
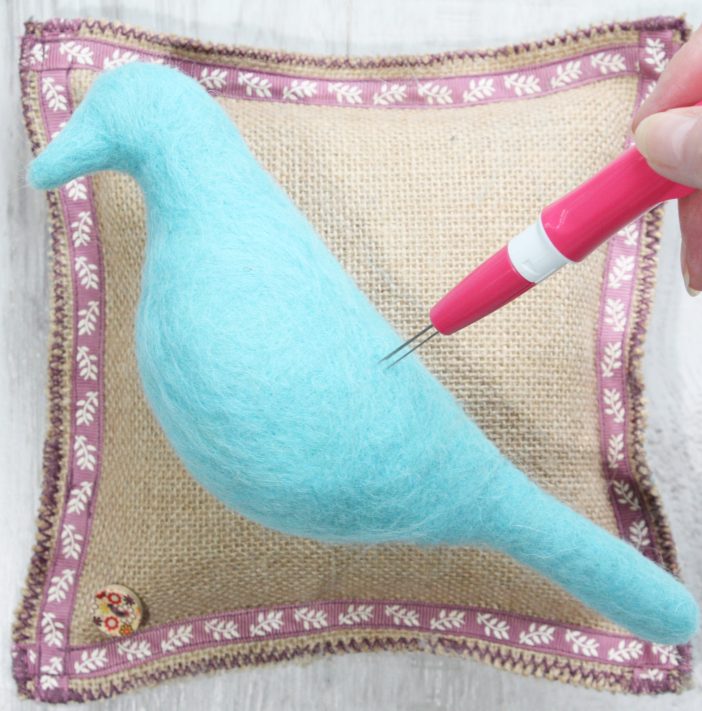
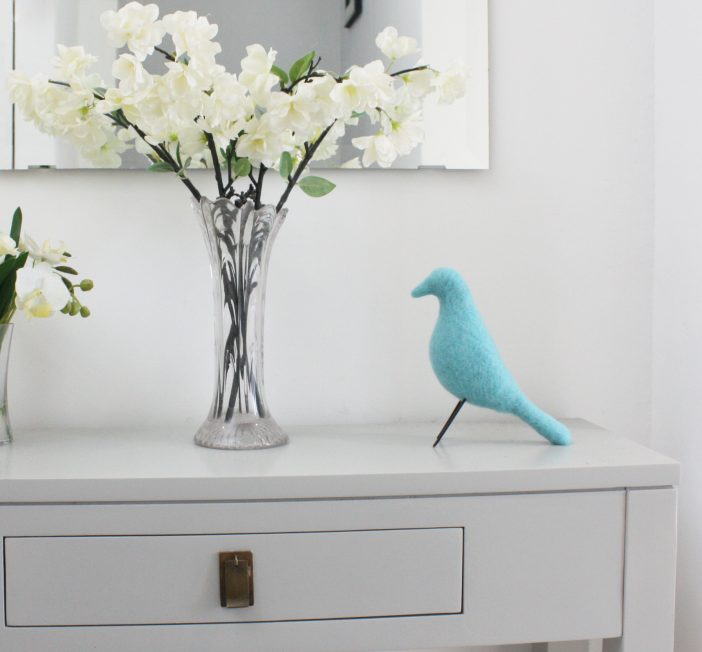
Anyway, that was the inspiration for the simple aqua green needle felted bird that you can see in the photo above.
If you’d like to have a go, you can make this bird any size you like by simply adjusting the quantities of raw materials you use – you can pretty much eyeball how much you’ll need. My bird stands 7 inches tall and measures 9 inches from beak to tail.
If this project helps you feel inspired, why not head over to our reading room where you’ll find some great needle felting book recommendations.

Skill level: Beginner
How to Needle Felt a Simple Bird
Around $20.
Approximately 2 hours
Technique:
For this bird, we’ll be using the dry felting technique. This is simply the process of tangling together loose wool roving fibers by poking them with a barbed needle to condense and sculpt the resulting fabric into shape.
In our sweet little bowl tutorial, we used the same technique and this bird is just as another super-easy way to start learning the craft. We have provided all the instructions you’ll need.
Notes:
In this tutorial, we will be using a size 38, 3 – needle felting pen. This is a good all-around tool that you can use for a ton of different projects.
The pen, which you can see in action in the photo above, will help speed up the felting process as working with three needles is always going to be faster than one, and for any finer details such as round the beak, you can simply remove one needle and work with just two.
Although it is a good idea to invest in a good felting mat – you can just use a thick folded towel to save a few dollars if you are just trying this out as a new hobby.
Step 1: Create the bird shape
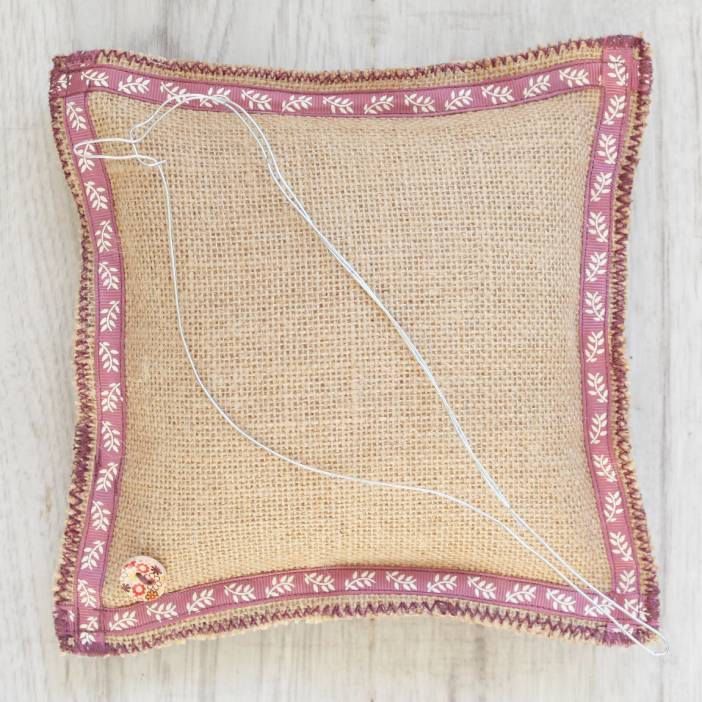
For my bird, I used some garden wire, though you can just as easily use 18 gauge craft wire. The wire just has to be flexible enough to bend into shape and just thick enough to hold the core wool without collapsing. Don’t worry if your wire doesn’t feel strong enough, you can always wrap the shape over a couple of times until it holds up better.
Step 2: Wrap the wire with core wool
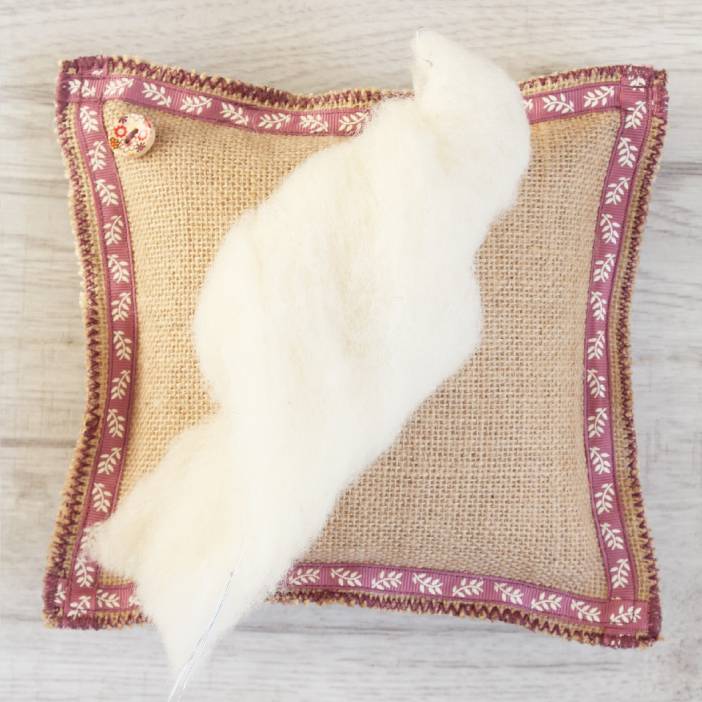
Tear off approximately 12 inches of core wool and wrap it around the wire frame. Tear off any excess wool from the bird’s head and beak. You will need to allow room to add your color roving without making the head too big or the beak too thick. And remember it’s easy to add more core later if needed.
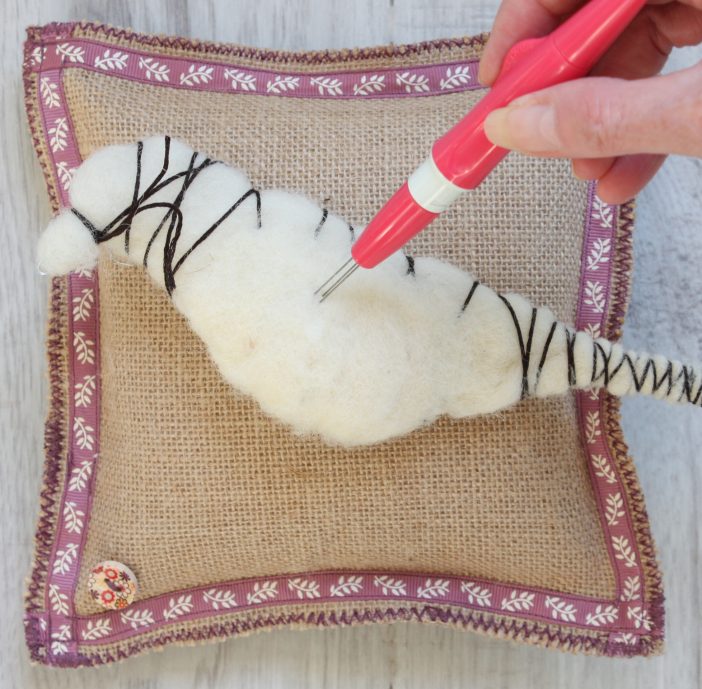
Step 3: Secure the core wool with thread
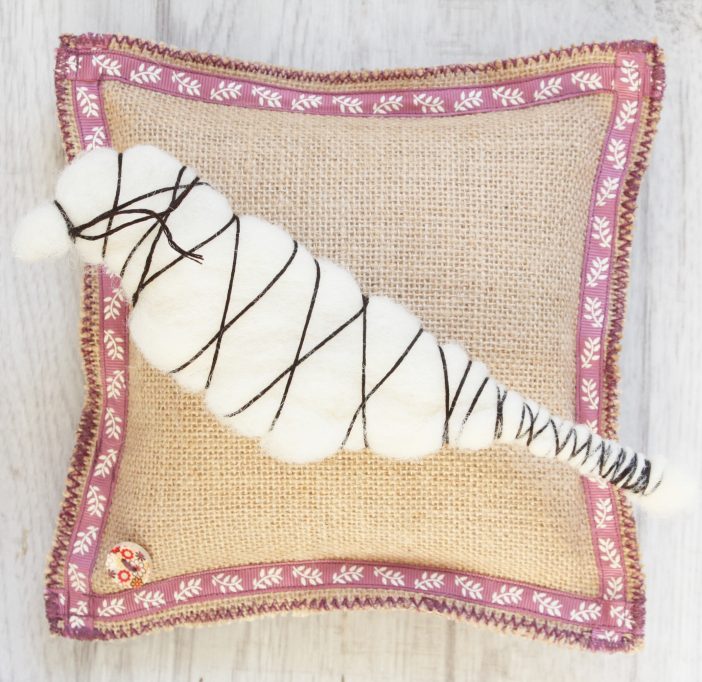
Use neutral-colored embroidery thread to wrap and secure your core wool. (I’ve used black embroidery thread so you can see it better in the photo.)
Start at the beak to give it definition and wrap the thread around the tail several times. You don’t need to wrap the thread tightly, it’s just there to help give you a rough shape to follow.
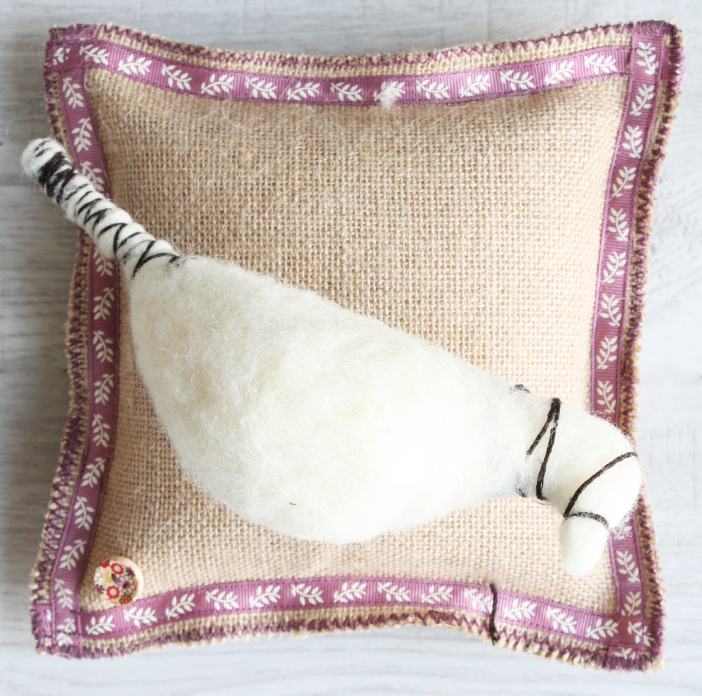
Step 4: Shape the core wool
Start by needle felting the core wool to firm it up and give the bird shape.
You can add more core wool to pad it out if you need to. Keep poking to blend it in. You can see my bird was looking a little slim around the waist so I added more core wool to fill out the shape.
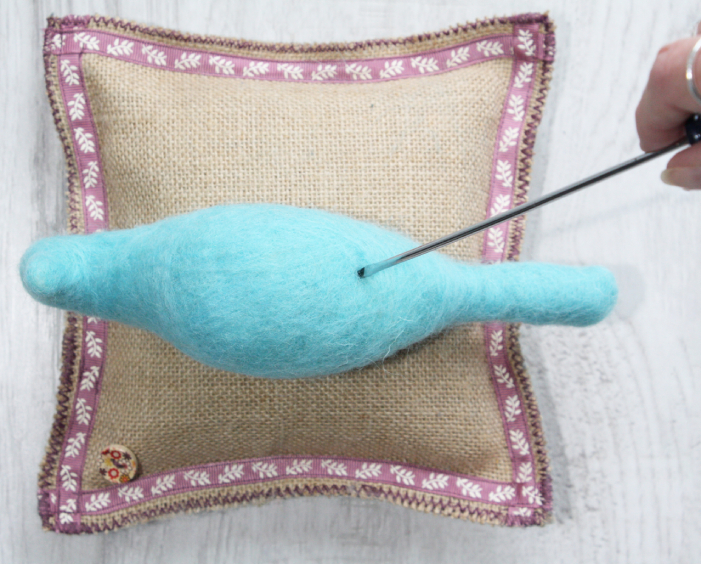
Step 5: Shape the bird
Keep building the shape until you are happy with your bird shape. This will make it easier to get a nice smooth finish when you add your layer of colored roving.
Step 6: Needle felt a layer of colored wool roving
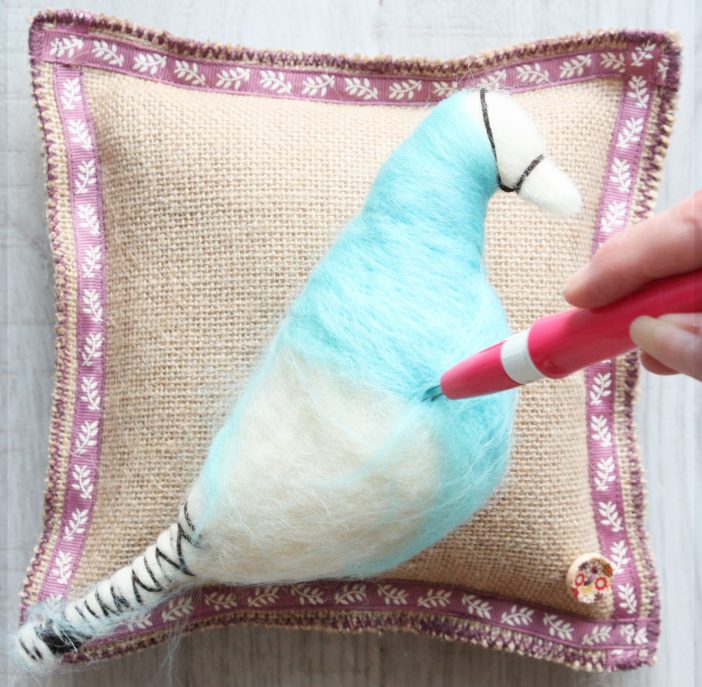
When you are happy with your shape, you can start to wrap a layer of colored roving.
Don’t add too much and try to keep the fibers running smoothly. This will make the needle felting process easier and the finished result will look neater.
Build-up the coverage in any thin areas by adding another layer of roving over the top.
Keep poking with your needle until you get a compact and smooth finish. This should take you about an hour depending on how fast you go.
Step 7: Add the legs
For the legs, I simply painted a couple of craft sticks black and cut them into two 4 1/2 inch lengths.
Make two holes where you want your legs to go with a thin screwdriver or knitting needle and push approximately 2 1/2 inches into the bird.
You can add glue to the sticks for extra stability. Though the bird is intended for decorative or ornamental purposes only so this last step is optional.
If you want to give away your bird as a gift, all you need to add is your free printable handmade label.
![[alt]](https://www.comfyzen.com/wp-content/uploads/2016/11/Blue-Hearts-1.jpg)
Leave a Reply