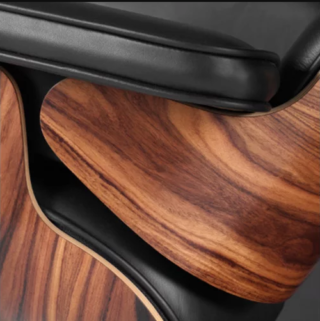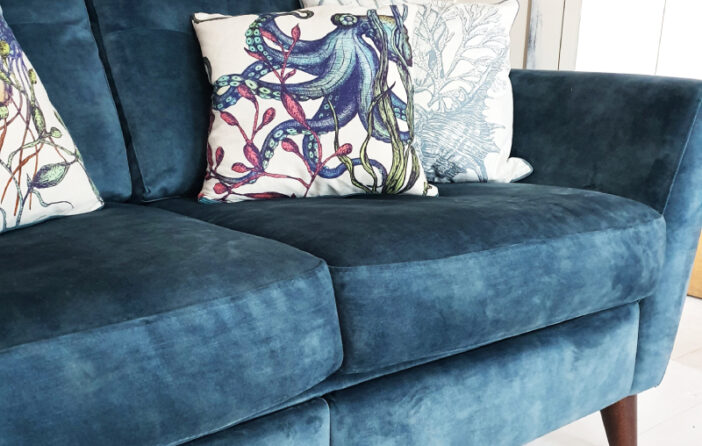
I’ve always wanted a velvet sofa and earlier this year I decided to take the plunge and buy one that I could curl up on it like a pampered cat. They’re so luxurious with their soft, plush fabrics and elegant designs — they add a touch of glamour and sophistication to any living room.
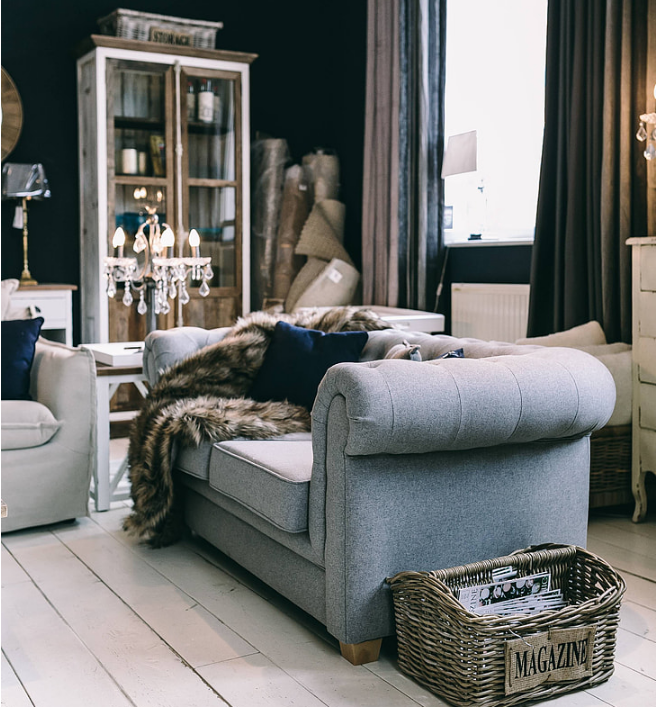
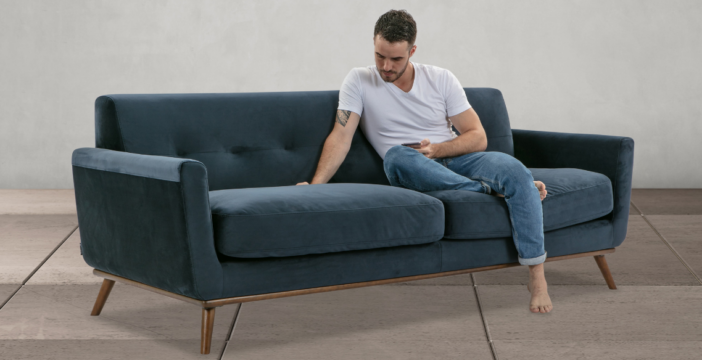
It’s been almost a year since I purchased my sofa and I’m happy to say it was a good choice. As you can see from the photograph I took, it still looks new despite daily use.
So in this post, we’ll take a look at some of the best velvet sofas that you can buy online, to help you find the perfect one for your space.
First on our list is The Carmine from Maiden Home. I so would have gone for this one if I’d seen it a year ago. Apart from anything else, this purple is absolutely gorgeous.
Our Top Pick

The Carmine
By Maiden Home
With 66 5-star customer reviews, it’s no surprise that The Carmine velvet sofa is a customer favorite!
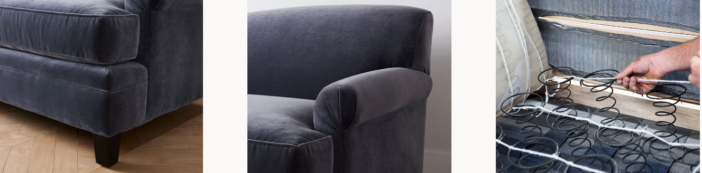
The Carmine’s fan-pleated arms bring a touch of understated elegance to this updated classic. The tailored seat and back offer a supportive and comfortable sit, while the kiln-dried hardwood frame is precision-cut to ensure it never twists, warps, or cracks.
The joints are glued, double-dowelled, and corner-blocked for extra stability, and the eight-way hand-tied springs provide the ultimate in longevity and comfort. Each spring is secured in place by a skilled craftsman, (see photo bottom right) ensuring the highest quality construction.
The high-resiliency core is wrapped in a jacket of silky microfiber for a luxurious feel with minimal maintenance. The fabric seat and back cushions are fully upholstered and reversible for a comfortable sink-in seat. Hidden cushion tie-downs keep the seat cushions in place and resist sagging, making this a piece that will keep its shape and stand the test of time.
The Carmine measures 60-100 inches wide, 38 inches deep, and 34 inches tall, and it’s available in a choice of colors. I recommend ordering their complementary swatches!
The sofa ships in a very reasonable 7-9 weeks.
The Carmine would most definitely add a touch of sophistication and comfort to your living space.
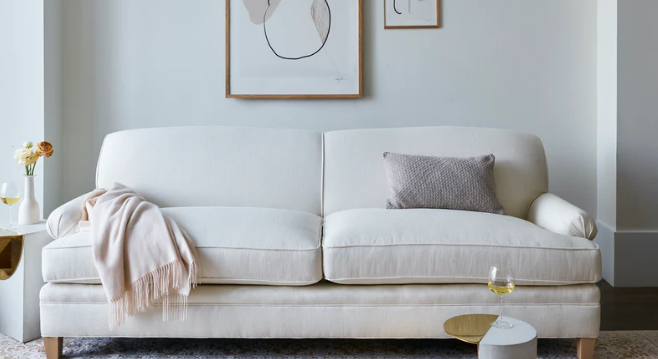
Next, we have the Willoughby Two-Cushion Sofa:
Runner Up
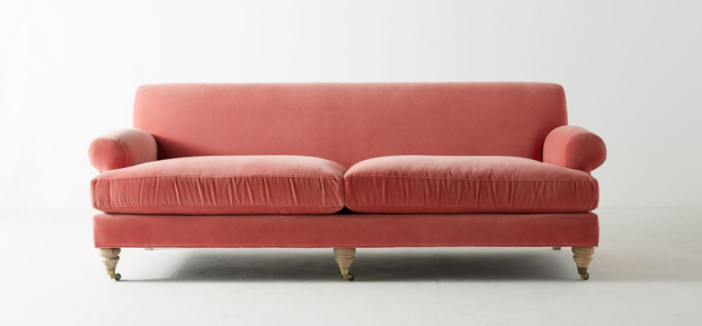
Willoughby Two-Cushion Sofa
By Anthropology
Another top-rated velvet sofa is the Willoughby Two-Cushion Sofa, with 41 customer reviews and 78% of customers recommending it.
This incredible furniture piece is the perfect blend of classic and modern design, with scrolled, elegant arms and a deep, plush seat that will make you never want to leave your home again. The seat cushions are removable, as are the front legs, making this piece practical to get through your front door or move to another room.
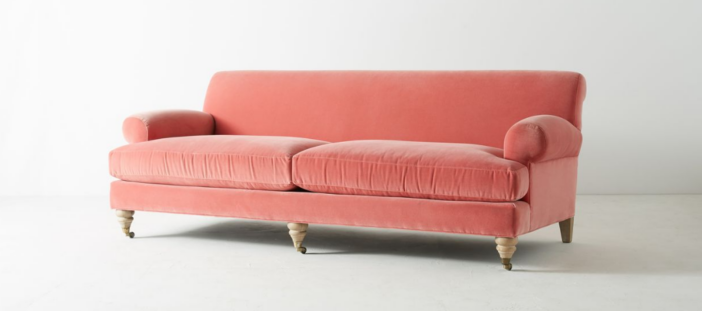
The cushion content is made with high-quality materials, including spring coils encased in high-resiliency foam and wrapped in soft fiber padding and a hypo-allergenic blend of down and feathers. This ensures a supportive and comfortable seat that will last for years to come. The frame is made of kiln-dried, laminated hardwood, providing a sturdy and long-lasting foundation. And because each piece is handcrafted in the USA, you can be sure you’re getting a work of art that will elevate the look of any room.

What’s not to love, about this stunning piece? It will transform your living space into the envy of all your friends and family.
Also worthy of a mention is the Jackie Sofa, It’s available in a choice of fabrics but only in Royal Blue Velvet. But if it’s your color choice, this is a great sofa.
Another Worthy Mention
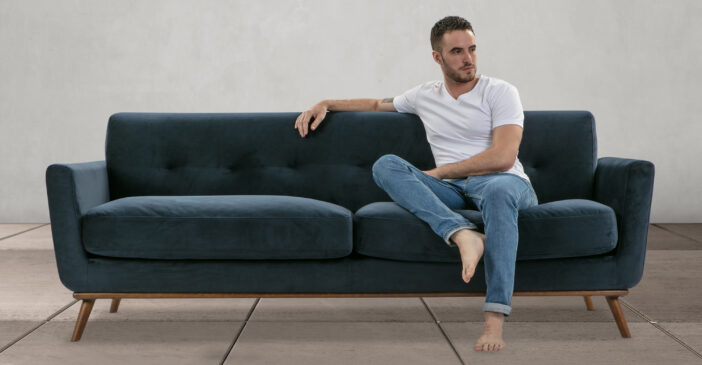
The Jackie Sofa
By Kardiel
The Jackie Sofa from Kardiel is comfortable and stylish and comes in a choice of configurations making it a great choice for any living space
This heavy velvet plush on this 2-seater sofa has a fabric weight of 330 Grams Per Square Meter and a Martindale Rub Count of 30,000.
The sofa is made from high-quality materials, including a sturdy kiln-dried Ash hardwood frame and removable 7″ solid Ashwood legs for added support. The cushions are filled with 32 lbs density high resiliency foam which meets CA regulations and there’s a metal coil suspension for ultimate comfort and to prevent sagging.
What’s more the removable zippered 2-piece seat cushions make this choice as practical as it is beautiful.
The US-based company that makes this sofa is owned and run by four, Modernism-obsessed family members who have a passion for good design, (Debbie, Jason, Brando, and John).
Collaborating with leading furniture designers from around the globe, they hand-source manufacturers to produce small-scale original designs, and they occasionally, remanufacture iconic, mid-century modern pieces of furniture.
The sofa is made to order in 10-14 weeks and Kardiel offers a Limited Lifetime Warranty.
In conclusion, choosing the right velvet sofa for your home can be daunting. But with the right information and a little bit of research (see below) you can find the perfect sofa for your space. Consider factors like size, style, materials, and color to find the right velvet sofa for your needs.
Finally, Always read the store’s returns policy and check to see if any restocking fee applies should you change your mind. Also do keep all the original packing until you are fully happy with your purchase.